
I had the pleasure of collaborating with Strathmore Art in developing a creative watercoloring workshop for those learning to paint at home. Painting inside letters is such a fun and effective way of creating some cute signage or wall art for your home.
This project is designed to be enjoyable for both beginners and more experienced painters.
Check out my YouTube video for a longer tutorial with additional instructions.
Tools I Used:
- Strathmore 400 Series Watercolor Block Cold Press 9×12″
- Daler-Rowney Aquafine Watercolor Set of 24 (not the exact same set I used but has the same colors!)
- Princeton Velvetouch Round 4 Watercolor Brush (size 2 will work also)
- Pencil
- Kneaded eraser
This workshop was created in collaboration with Strathmore Art. All opinions are my own. I do not endorse products that I would not personally use. Some links are affiliate links which means I would get a small commission if you choose to purchase. This helps me continue to make free tutorials!
Step 1: Print and trace letters you want to paint inside of onto the watercolor paper
Begin by finding a font and word that you’d like to paint inside. I recommend using a font that is wide enough be painted inside. A skinny font won’t allow for much painting inside. I used a MS Word to print the word HOME.
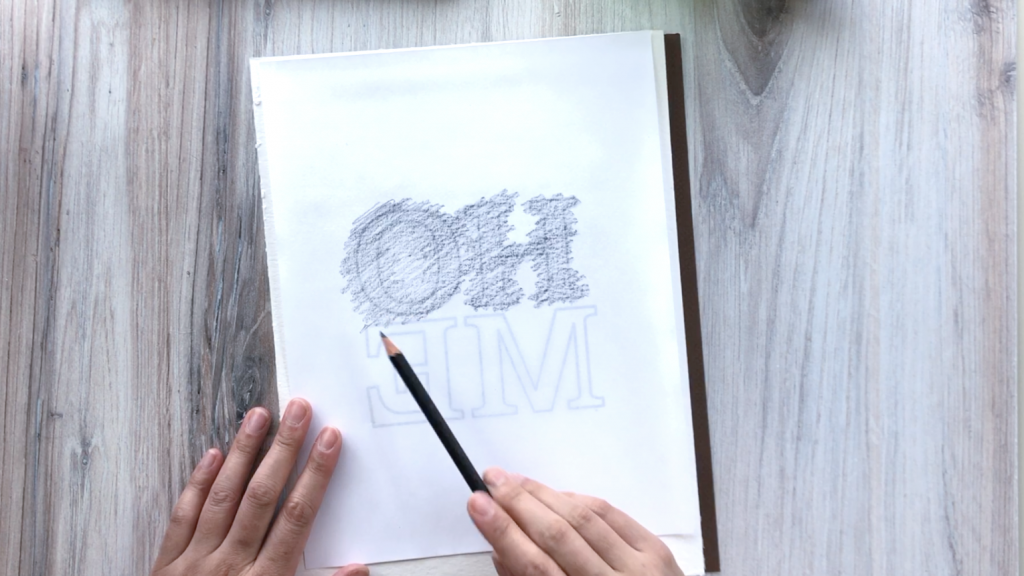
Flip the lettered sheet over and use the flattened side of your pencil to etch all over the back. Doing this will allow us to trace and copy the lettering over to our watercolor paper.
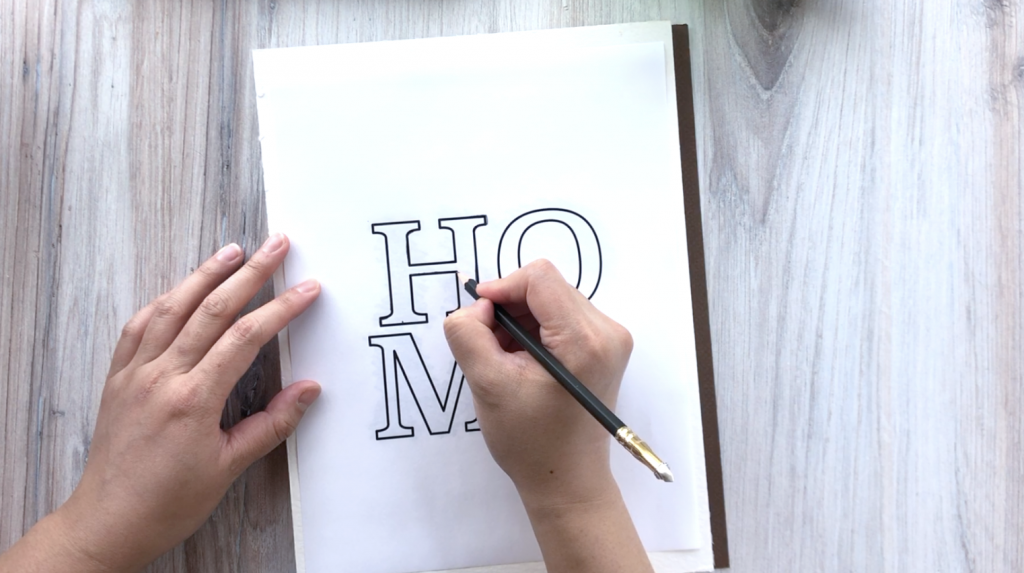
With the etching on the back done, flip the page over and center it over your watercolor paper. In order to keep the page still, I recommend taping the corners of the top sheet onto your watercolor paper. Next, use the pencil to trace over each letter.
Here, I’m using a Strathmore 400 series cold press watercolor block. Watercolor papers in block means that they are glued together on the edges. This keeps the page really flat and prevents it from warping as you’re painting. I usually recommend painting on the block if the painting will require a lot of water or paint. For this specific painting, you can choose to use a block but watercolor paper in sheets should be fine too.
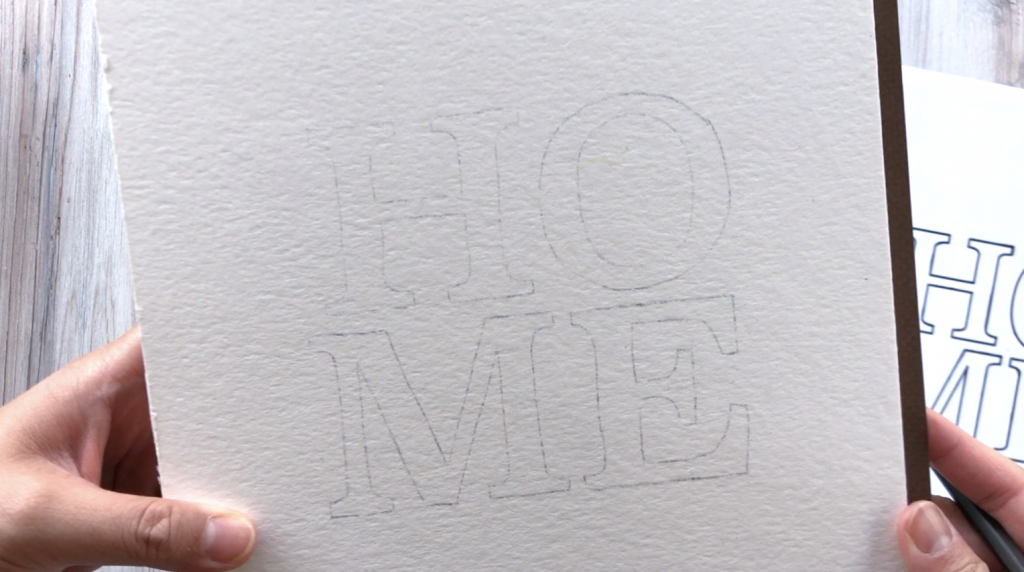
You should end up with a faint transfer of the lettering onto the watercolor page. We want to further lighten this tracing by gently rolling a kneaded erased over the letters. This will make the letters still legible but not readily noticeable.
Step 2: Practice with a few leaf shapes before painting inside letters
I like to have a reference sheet of the different leaf shapes that I am planning to use for the painting. Here are 6 different leaf shapes for you to try.
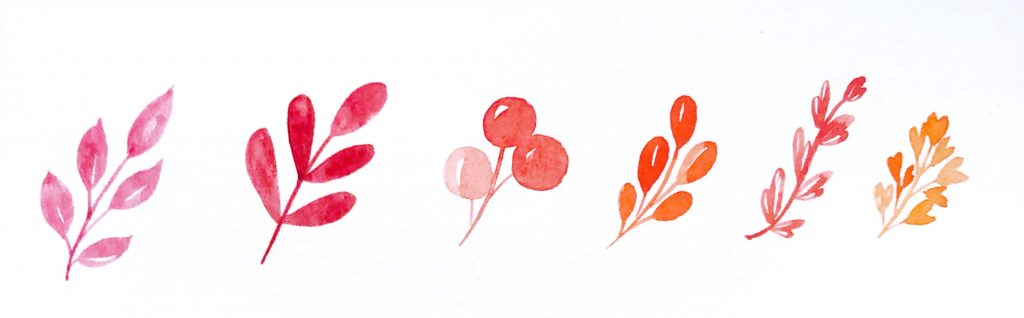
Make sure to have a variety of leaf shapes. You can always vary the size of each leaf in order to make it fit into the needed space. Have some leaves that can be wider (to take up more space) and some that are skinnier (to fit into tighter spaces in the letters).
Once you have some practice under your belt and have a nice reference sheet, let’s get back to our painting.
Step 3: Start painting the leaf shapes inside the letters
I chose a color palette that reflects fall vibes. I have a mixture of red, orange, and yellow paints.
I begin by painting one shape in different colors in each of the letters. This will give a spread out look for all the different leaf types. Continue filling in the space of the letters with all the different leaf shapes.
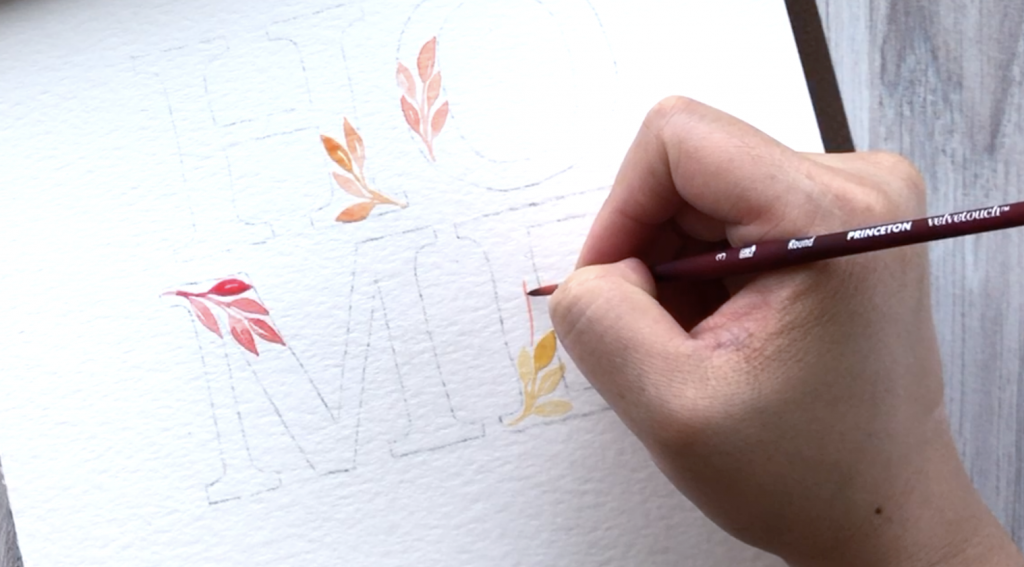
Make sure to paint larger leaves to cover larger areas and use smaller leaves to fill in thinner parts of the lettering. You an always add or take away leaves on a stem if you need to stretch it out. If you need to fit a small space, you can even choose to paint a single leaf. There’s a lot of flexibility in how you fill the space. Trust me, it’ll look great when you’re done!
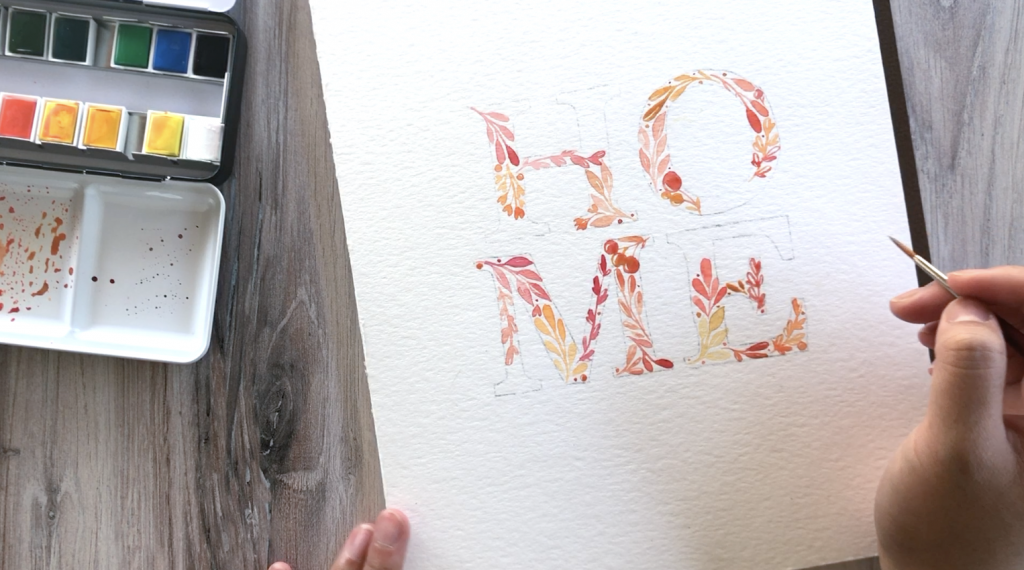
You can add in tiny dots to fill in any additional spaces that are difficult to fill like corners of letters. Spread the dots out evenly and they won’t look out of place when you’re done.
Step 4: Allow paint to dry before erasing the rest of the pencil markings

Make sure that the paint is completely dry before attempting to erase pencil markings. Use the kneaded eraser to remove the markings. Instead of gently rolling this time, go ahead and use it more like a traditional eraser. I prefer using kneaded erasers to traditional erasers because there’s no messy eraser shavings to clean up afterward.
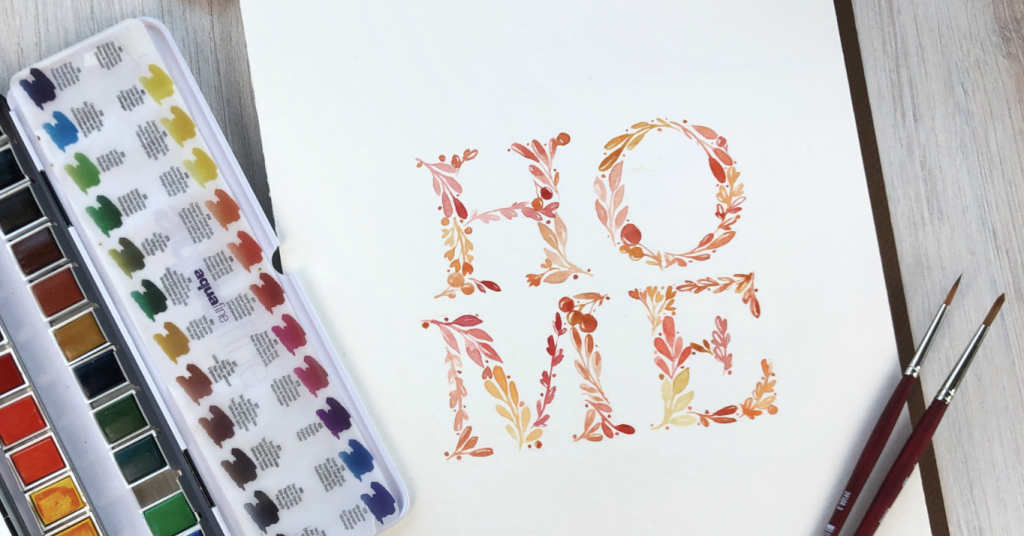
Once you’re done, you can decide to frame and hang up just in time for the fall season!
I love teaching watercolor techniques to empower you to create your own unique projects. I hope this project shows you how the combination of some easy painting shapes can form something more complex-looking. Some ideas for you to try: change the letters, fonts, colors, or shapes you paint!
Let me know if you give this one a try! Tag me on Instagram @Leslie.writes.it.all #lesliewritesitall!
No Comments