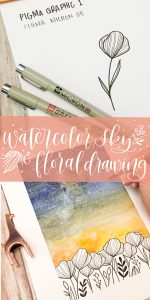
I’m so excited to finally have a venue to show you guys the behind the scenes of how I make some of my watercolor pieces. I got a few new items to play with and sometimes inspiration strikes for me when I get new tools to play with. I love combining ink with watercolor so you get a little bit of monochromatic drawing with a pop of beautiful color.
Keep reading for a chance to win your own set of Sakura Koi watercolors and Pigma pens!
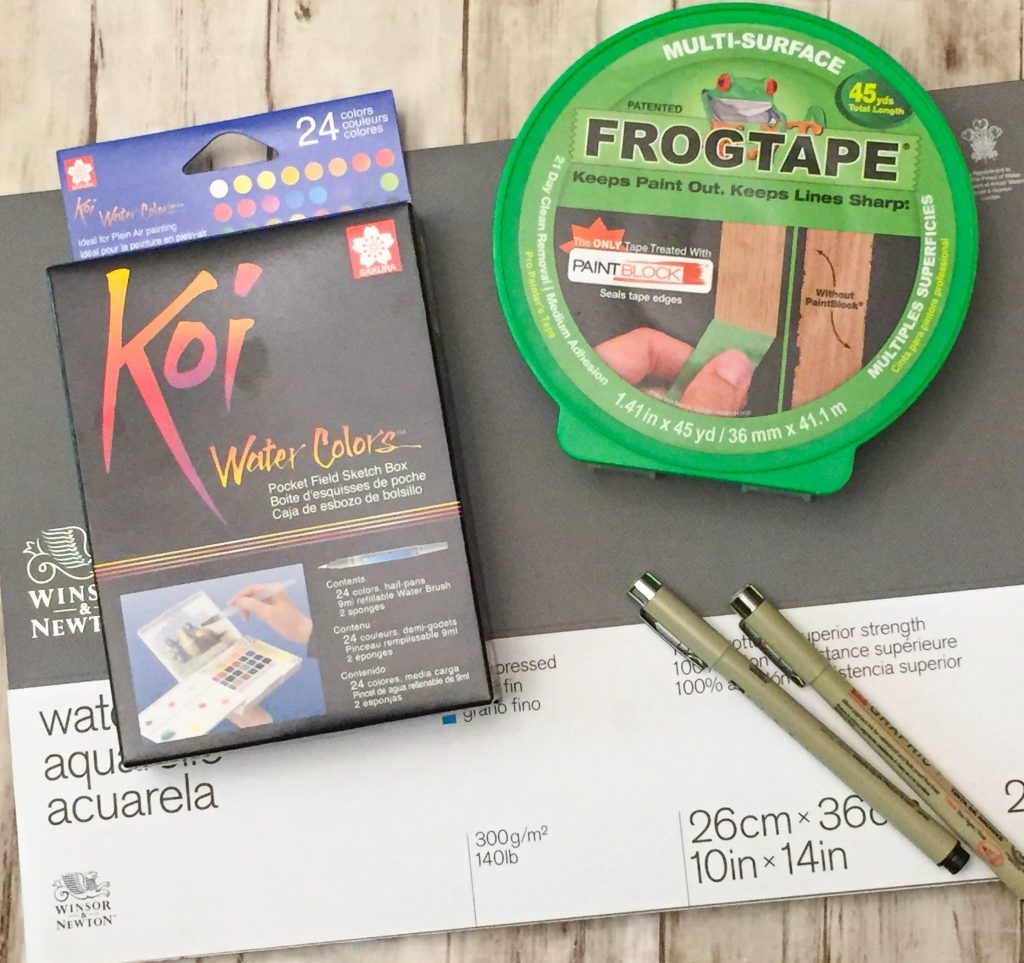
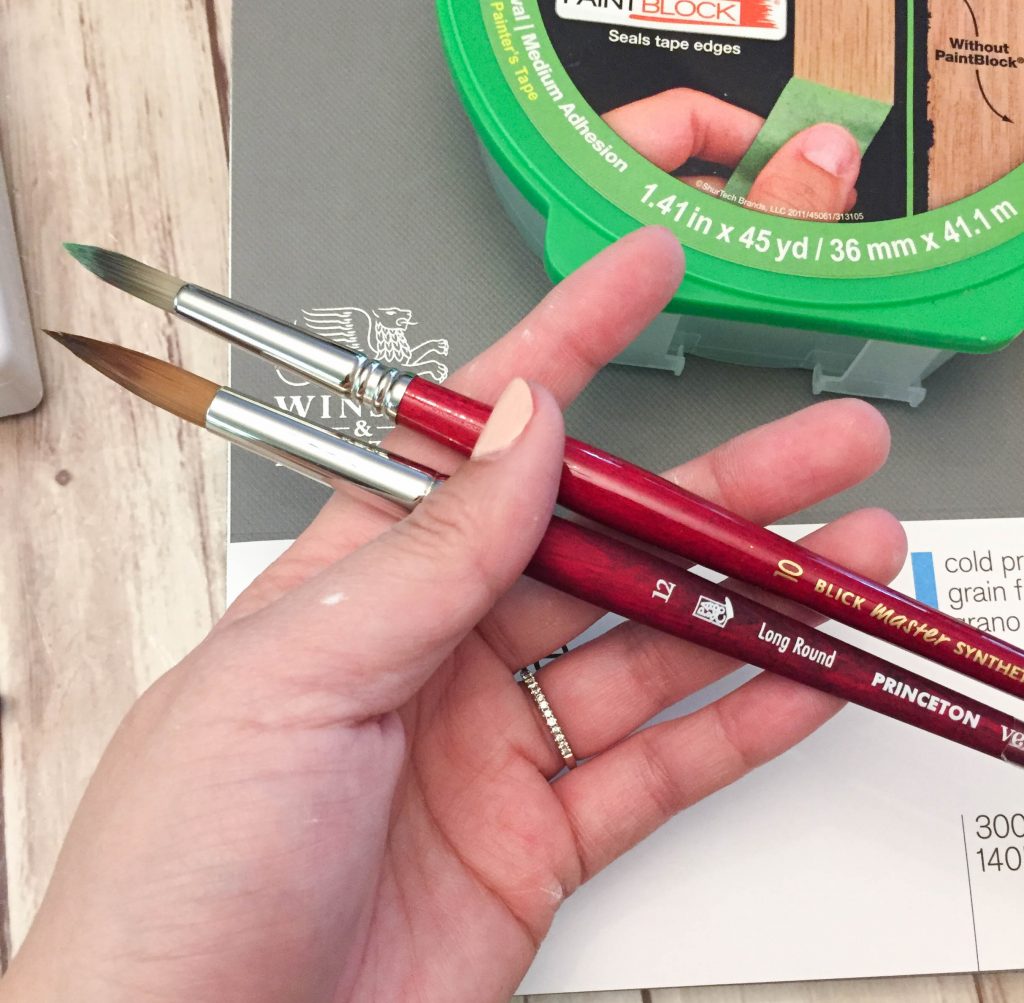
Tools I used:
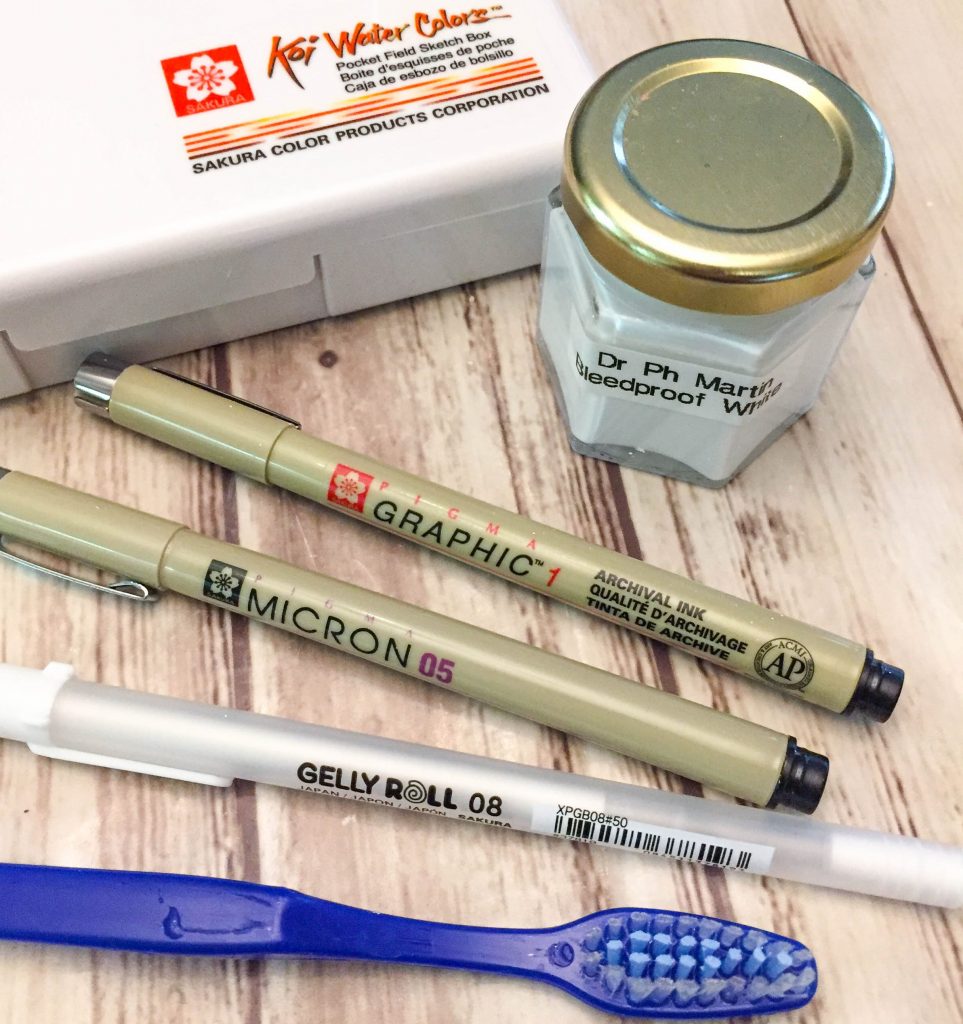
- Sakura Micron 05 in black
- Sakura Graphic 1 in black
- Sakura Koi Watercolor 24 set
- Sakura Gelly Roll Pens in white in size 10 and 08
- Dr PH Martin’s Bleed Proof White
- Princeton Velvetouch Watercolor Brush in Round 12
- FrogTape 1″ painter’s tape
- Winsor and Newton Watercolor block cold press 140 lbs
- Celestial Yosemite book
Click on the video to be directed to my YouTube page. Only subscribers will be eligible for the giveaway! Must be following @sakuraofamerica and @leslie.writes.it.all on Instagram to win!
Step 1: Tape down borders

The paper I’m using is a Winsor and Newton cold press watercolor block in 140 lbs. Watercolor blocks are sheets of watercolor paper that are glued on all edges together. The reason why blocks are handy is because use of water on paper tends to warp paper. In this case, we will be painting the whole sheet of paper with a watercolor sky, which means that we will be using a lot of paint and water. Painting on a block will keep our paper perfectly flat.
I’m using FrogTape, a brand of painter’s tape which will help us protect our borders from paint. Using this tape will mask the paper and give us a clean edge after we are done drawing and painting.
Step 2: Draw flowers at the bottom to create a horizon
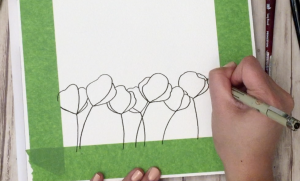
Begin by drawing the outline of the flowers. Using the Sakura Graphic 1, draw a stem and 2 to 3 petals. To make the drawing more interesting, vary the directions the flowers are tilting. Make sure that all the flowers are touching to create a horizon without gaps. We want one continuous line to paint the night sky across.
If you need additional instruction on how to draw these flowers, check out my YouTube tutorial above or click on the download button below to get your very own FREE guide on how to draw some flowers and leaves.
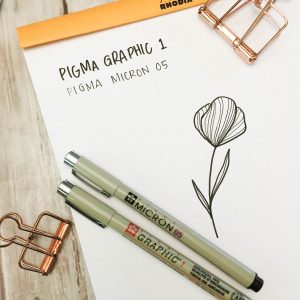
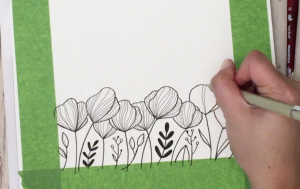
Step 3: Draw in details and filler leaves
Add the details of the flower in with the Sakura Pigma Micron 05, which is a smaller tip pen than the Sakura Graphic 1 that we previously used. Changing the size of the pen will allow you accentuate the detailing inside the petals. If you kept the pen the same thickness, you won’t be able to distinguish between the outline and the details.
Use filler leaves to take up some of the negative space. Add individual leaves as well as leaves to the stems of the flowers.
Step 4: Begin by painting the yellow at the bottom of the sky
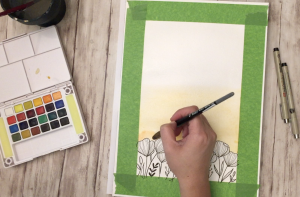
I began by wetting the entire sheet of paper excluding the floral drawings. This will allow for the color to softly diffuse and blend more subtly than if the paper was completely dry. Begin with the lighter color since it will be easier to make adjustments if we paint too much of the yellow. If you begin with the darker color, it is harder to take back the color if you make a mistake.
Carefully paint around the floral drawings to make sure that you don’t paint inside the flowers. I used the Sakura Koi travel watercolor paint set for this painting. I began with a mix of permanent orange and yellow ochre to capture the yellow/orange portion of the sky.
Step 5: Paint the top of the sky
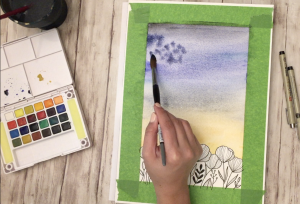
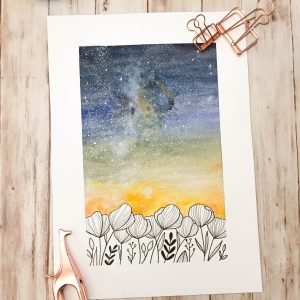
Once the yellow is painted up about half way, you can add in the dark purple/blue sky. Do this while the yellow paint is still wet. This is considered a very large variegated wash. A variegated wash is essentially a wash where two colors merge.
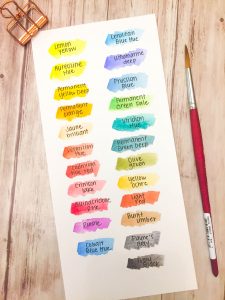
Make sure to always swatch your paints before starting a painting. This will give you an exact idea of what kind of color you should expect. I swatched my Sakura Koi watercolor set (white color not shown) beforehand so I knew exactly what colors I wanted to use.
I mixed the ultramarine Blue, Prussian Blue, Payne’s gray, and black to achieve some variety in the night’s sky. I added dots of yellow and black to create some variation so that it wasn’t a completely smooth wash. To create the nebula that comes down the center, I used a paper towel to lift off some of the color when it’s still wet.
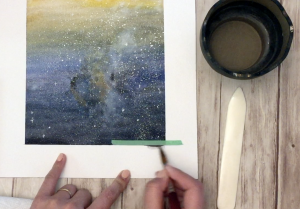
Step 6: Paint the stars in the sky
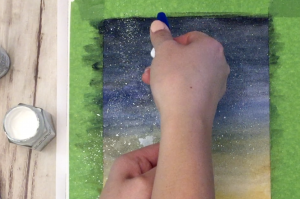
Once the painting is dry, dip a toothbrush into the Dr PH Martin’s Bleed Proof White (BPW) and use your finger to run along the bristles, creating small white splatter. BPW paint comes in a little jar that I usually dilute with some water to make it less paste-like and more of a thick paint. I use BPW for calligraphy as well as painting. The white paint tends to settle to the bottom of the jar and requires you to mix it before every use.
I also dip the watercolor brush into the BPW to create slightly larger splatter since the size of the stars in the sky vary. Make sure to cover the floral drawings with a spare sheet of paper when you’re working with the splatter. If you accidentally drop large blobs of paint, look in my “troubleshooting” section below for information about how to fix it.
Spoiler alert: this step is can make a small mess so be prepared.
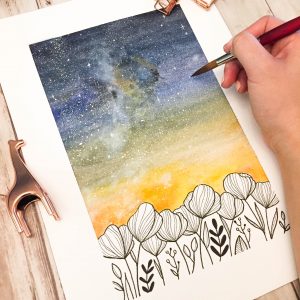
Step 7: Add larger stars with a gel pen
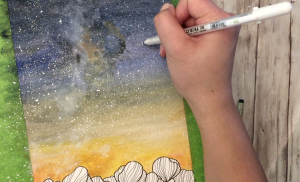
Add larger stars with twinkle by drawing a filled-in circle with cross hairs going through them. I used different sized Sakura Gelly Roll pens in white to create different size stars.
Step 8: Peel away the painter’s tape 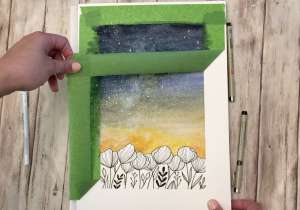
There’s no doubt that I love this part more than you’ll know. Peeling that painter’s tape to reveal a clean edge is a feeling like no other. Do this after the white splatter is dry to minimize accidental smudges.
Step 9: Separate your painting from the rest of the block (optional)
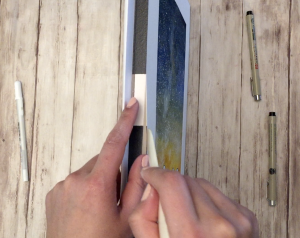
You only need to do this step if you painting on a watercolor block like I did. Using a bone folder or knife, separate the top sheet of paper from the rest of the block. This will free your painting from the block and get your block ready for the next painting.
At this point, you should be done! If you had any problems, take a look at the trouble shooting section below.
Troubleshooting:
I created large white blobs!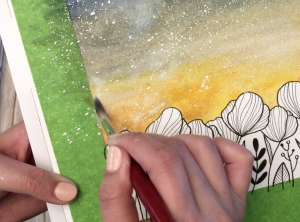
When the white blobs are semi-dry, use a DRY watercolor brush to blend out the larger white blobs or dots. Since we are painting a night sky, these whiter areas will look like clouds or nebulas.
The painter’s tape lifted and some of the paint got outside the border! OR Some paint got into my floral drawing!
The technique that I’m using is common in watercolor painting. The process that we’ll use to even out the paint is called “lifting”. I use a smaller piece of painter’s tape to create a straight edge. Using a completely CLEAN watercolor brush and CLEAN water, go back and forth over the area of paint you want to remove. Using a paper towel, dab the area and lift out some of the color.
This process will take several repetitions. Since the color is very dark at the top of the painting, we most likely won’t be able to remove all the paint but lifting can lessen the severity of the mistake.
And now you’re all done and have a beautiful piece of artwork!
 I hope you guys liked this one! I really enjoyed making it. I got to share with you guys the inspiration behind the sky painting (in the YouTube video) which made it all the more special. I hope you guys get creative and make this one your own. Play with different colors for the night sky and experiment the type of flowers and leaves you can draw! If you end up making this piece, I’d love to be tagged so I can see your beautiful works!

2 Comments
How do you tell if a YouTube subscriber is on Instagram? My e-mail for the two accounts is different.
Hi!
I was planning on picking from the my Instagram followers and messaging them directly to ask for their YouTube handle. I would just check to make sure that they’re following Sakura and myself on Instagram as well as subscribed to my YouTube channel.