Happy 2021! What a crazy and bizarre year 2020 was! It was a year of adapting to new ways to celebrate (hello, pandemic wedding!) and new ways of keeping in touch with family (I’ve never FaceTimed so much).
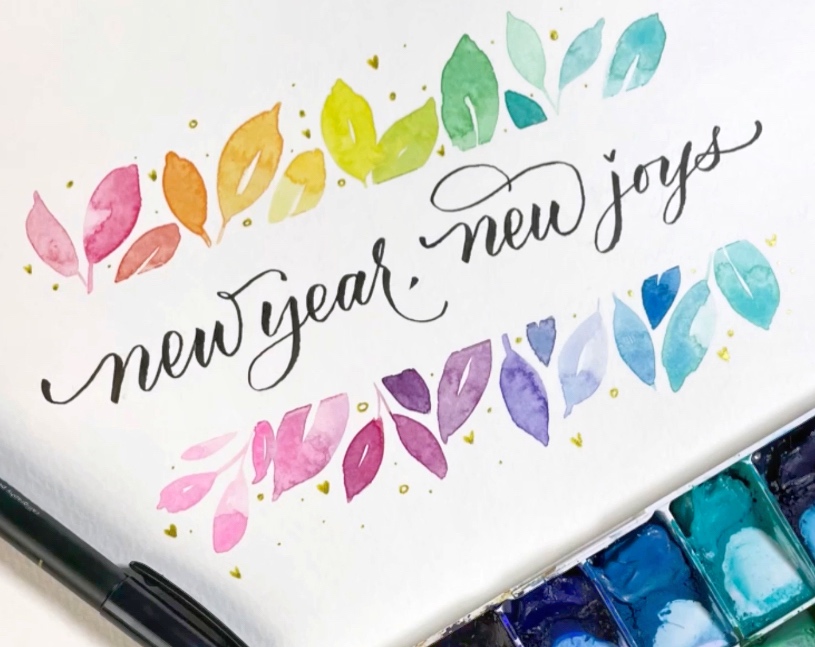
It’s also the year that we welcomed our baby girl into the world! But I can tell you I’m super excited for life to return to normal so we can show her everything that the world has to offer. I’m hoping that will happen sooner rather than later but until then… NEW YEAR, NEW JOYS. We will continue to look for ways to find the silver lining in our situation.
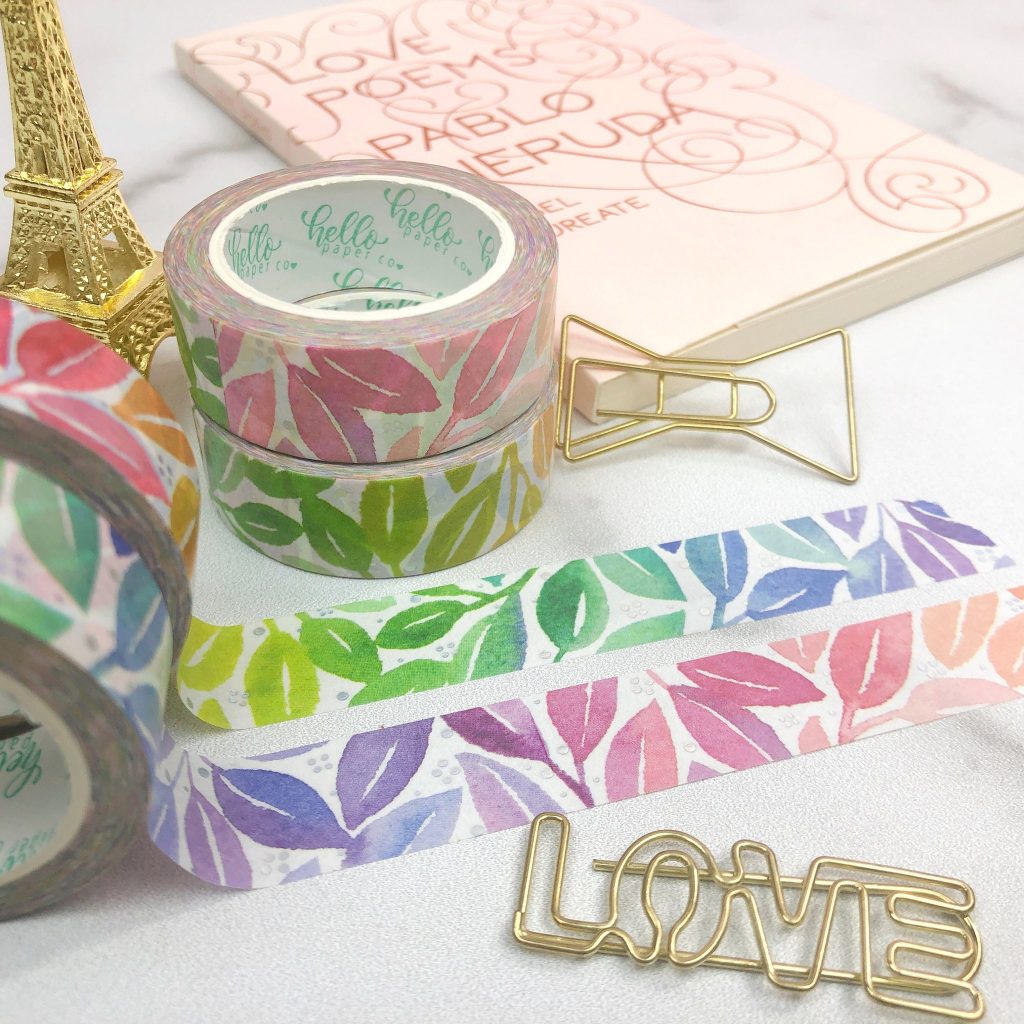
I wanted to create a fun journaling piece inspired by one of my favorite washi designs. This tape was a handprinted design that I made into a washi tape!
So now that you have an idea of where the inspiration came from, let’s get started on this super simple project!
Tools I Used:
- Strathmore 400 Series Watercolor Block Cold Press 9×12″
- Painter’s Tape
- Princeton Velvetouch Round 4 Watercolor Brush
- Watercolor Palette
- Winsor and Newton Professional Watercolors
- Tombow Fudenosuke Brush Pen
- Pentel Sparkle Pop Gel Glitter Pens
Affiliate links are used when applicable. I receive a small commission when you use my link to make purchases. This commission helps me to provide free art content!
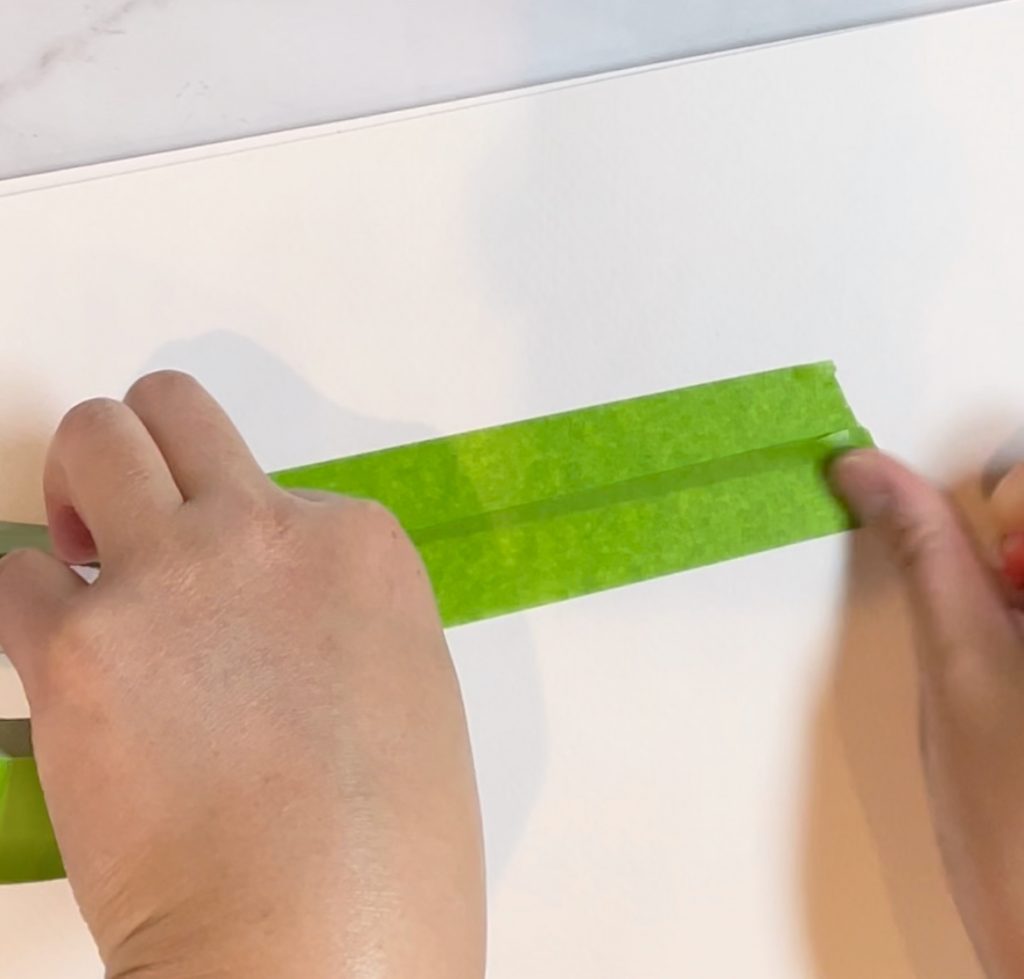
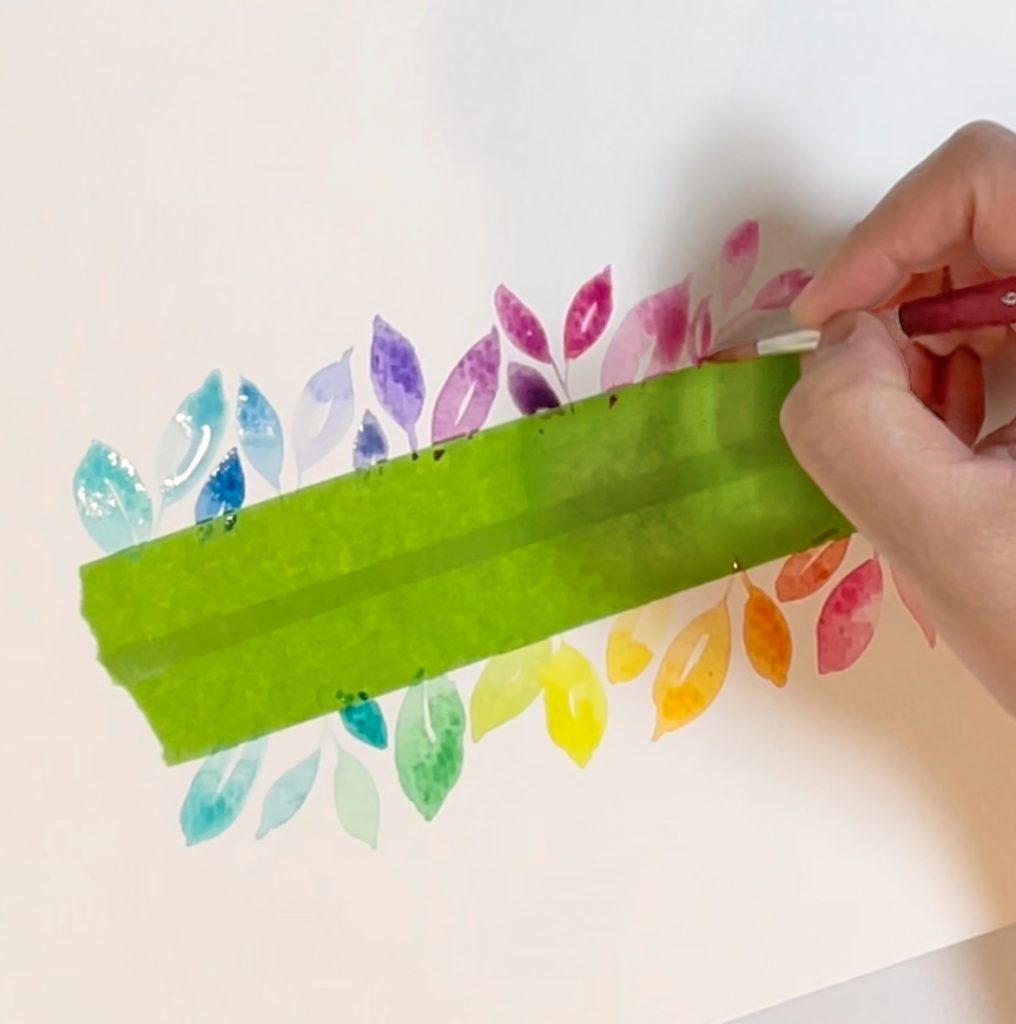
Step 1: Apply painter’s tape in the center of your watercolor paper
Tear (or cut if you’re neater than I am) two strips of painter’s tape to put in the center of your watercolor page. Leave as much space as you need for writing what you’d like in the center. This space is ideal for a short quote or a title for journaling like the month.
I recommend high quality watercolor paper whenever you’re planning to use painter’s tape. Low quality paper can tear even with good tape. If you don’t have any painter’s tape handy, some washi tapes work well also. If you’ve never used painter’s or washi tape before, make sure to do a test before you start working on the final project. I’ve definitely had the paper tear after spending a lot of time on a painting!
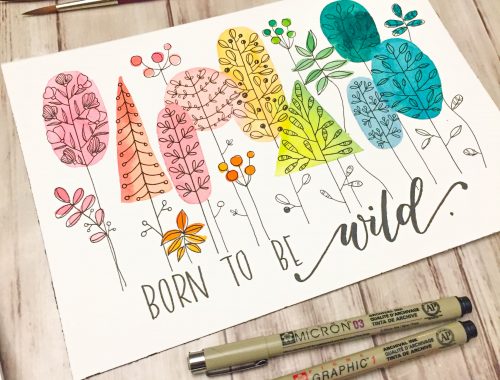
Step 2: Start painting watercolor leaves in a rainbow gradient
It’s easiest to paint in rainbow if you remember ROYGBIV from elementary school. In my head, I just think of red-orange-yellow-green-blue-indigo-violet to guide my color gradient. It also helps if you organize your palette in this way (I’ll go into that in another post).
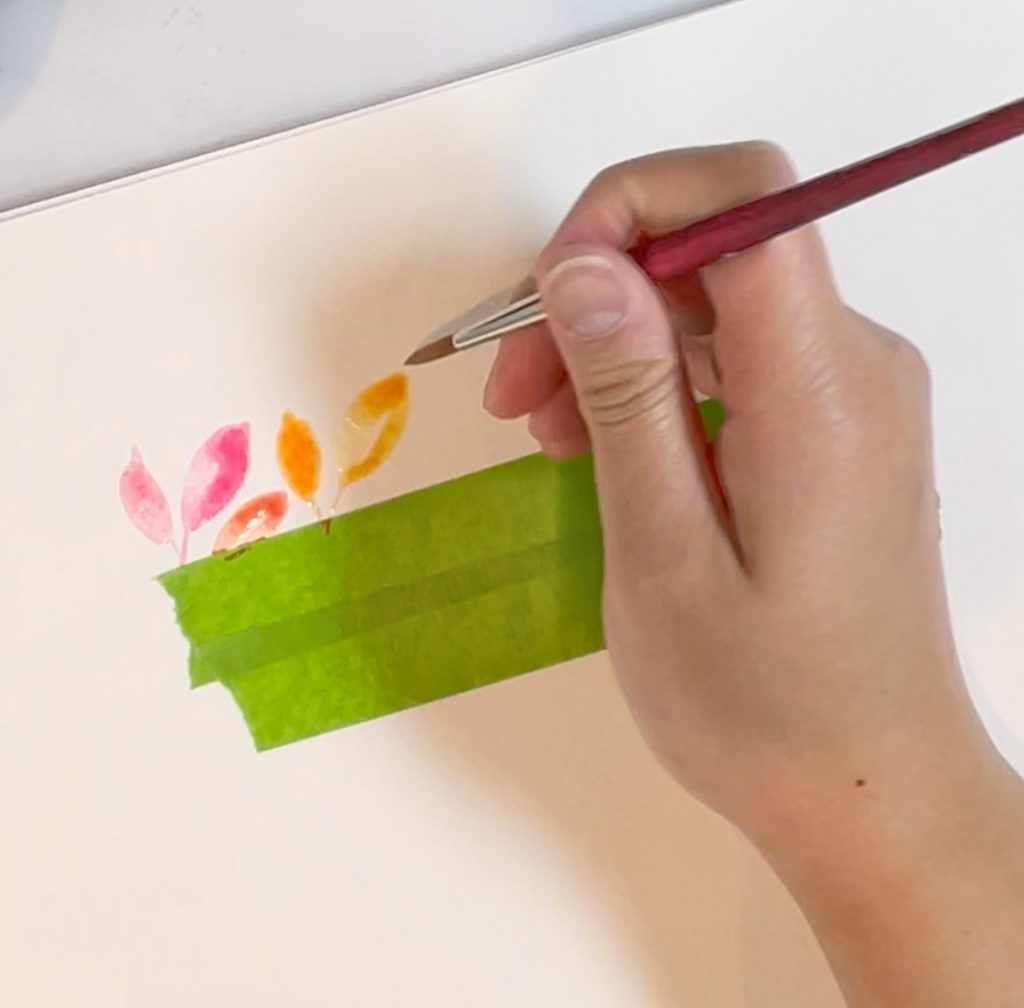
I opted for a more vibrant rainbow so I’m not using traditional colors that fall along ROYGBIV but nod to it. You’ll see I started with a pink color instead of red but went into the orange and yellows. If I had planned this out better, I would have probably stretched out the warmer colors better so I ended up having to add the blue leaves on the top row (oops).
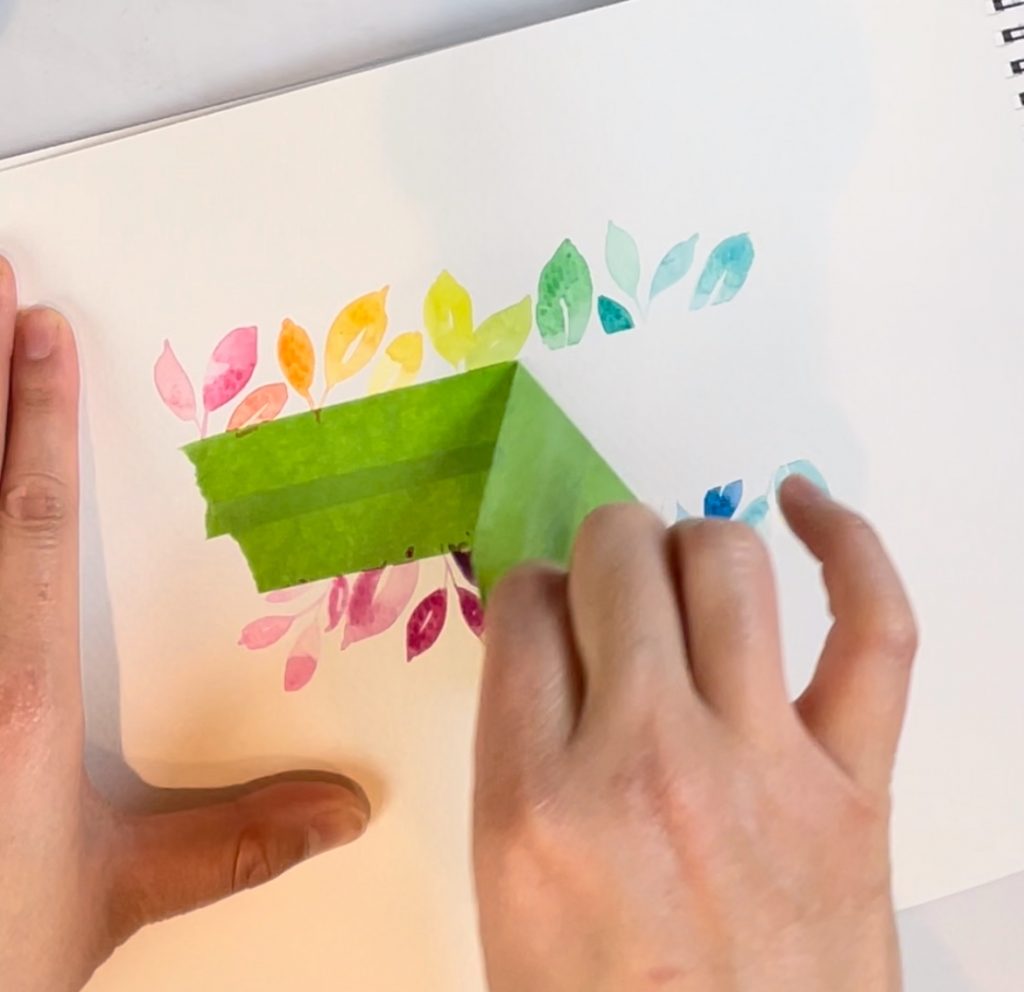
Once you finish the top row, just flip the page around so that you can paint the bottom row. This is easier for me to do instead of painting in a static position.
Step 3: Let paint dry and remove painter’s tape
So I’ll admit that I jumped the gun on this one. If you watch the YouTube video with the step by step instructions, you’ll see that I peeled the tape off before letting the paint dry. Rookie mistake. If you it backwards like I did, be EXTRA careful not to smudge your wet paint.
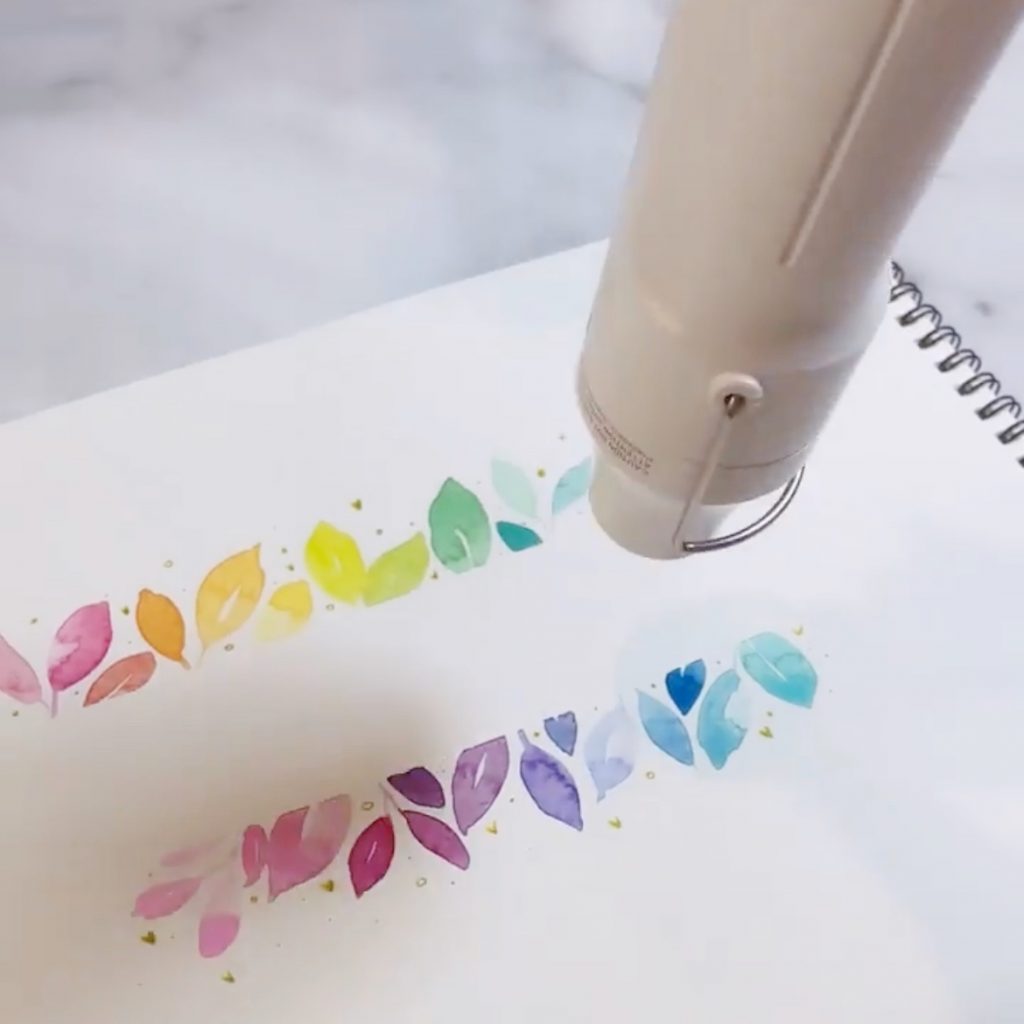
OPTIONAL: “life hack” for watching paint dry
If you don’t have time for paint to dry (like I don’t anymore with an infant at home), you can hit it was a heating tool like the ones they use for embossing. Make sure to wave the heating tool back and forth, not allowing the heat to concentrate on one area because you CAN singe your paper turning it brown. It may or may not have happened to me before.
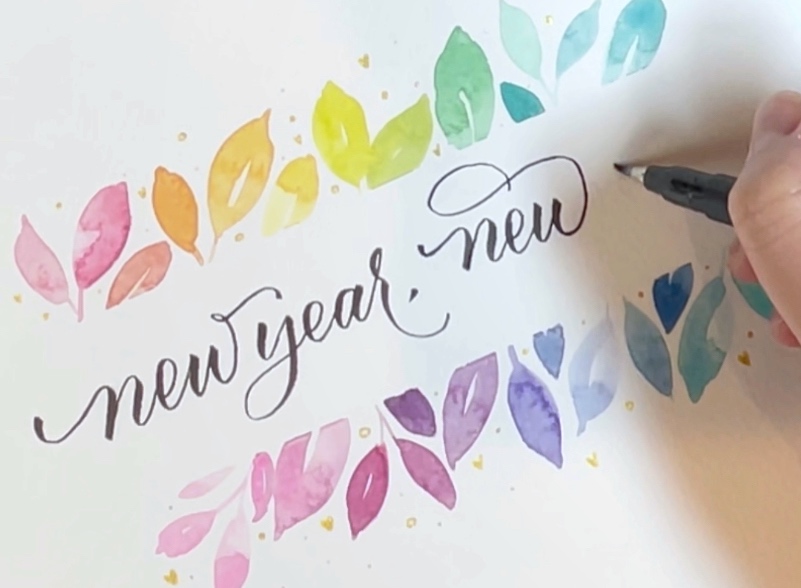
Step 4: Add a little sparkle with a gel pen
I like to add a few tiny hearts and dots or open circles sprinkled in between the leaves. This is also totally optional but a little sparkle never hurt anyone. I really love these Pentel gel pens because they have tiny flecks of glitter in them and the ink flows really nicely. Feel free to add other designs if you’d like. Tiny stars or really small leaves come to mind!

Step 5: Use a brush pen to add some lettering
Use a scrap sheet of paper to plan your lettering out. Use a pencil to lightly letter in the center. Once you’re happy with the lettering, trace over it with a brush pen. I’m using a Tombow fudenosuke soft tip pen which allows me to create both thin and thick lines. If you’ve looking for some more brush pen calligraphy practice, take a look at my Etsy shop.
I decided to write “New year, new joys” as a way to embrace the changes that we’ve all had to adapt to from last year. This year is about looking for all the silver linings out there! Let me know what new ways you’ll be finding joy this year!
I’d love to see what you guys come up with! Don’t forget to tag me @Leslie.writes.it.all on Instagram or use #lesliewritesitall! I love seeing what you guys do with these tutorials! Wishing you all a healthy and happy new year!

No Comments